Getting started
This page takes you from a blank machine to a window with something moving in it. Three things need to be in place: Nim itself, the SDL3 libraries that nim2d draws and plays sound through, and nim2d. None of it takes long.
Installing Nim
You need Nim 2.0 or newer. If you don't have it, choosenim installs and manages Nim versions and is the easiest route on macOS and Linux:
Package managers work too, like brew install nim on macOS or sudo pacman -S nim on Arch Linux. On Windows, the Nim website has an installer and a zip. Whichever way you go, check the result with nim -v and make sure it says 2.x.
Installing SDL3
nim2d draws, reads input and plays sound through SDL3 and its three satellite libraries: SDL3_image for loading images, SDL3_ttf for fonts, and SDL3_mixer for audio. They are linked into your game when it compiles, so they have to be installed before you build anything.
On macOS, Homebrew has all four:
On Arch Linux, all four are in the official repositories:
On Ubuntu, SDL3 arrived in the official packages with 25.04, along with image and ttf:
SDL3_mixer is not packaged on Ubuntu at the time of writing, so build that one from source. It lands in /usr/local, which is where nim2d looks on Linux by default:
$ sudo apt install build-essential git cmake ninja-build pkg-config libogg-dev libvorbis-dev
$ git clone --depth 1 --branch release-3.2.4 https://github.com/libsdl-org/SDL_mixer
$ cmake -S SDL_mixer -B SDL_mixer/build -G Ninja -DCMAKE_BUILD_TYPE=Release
$ cmake --build SDL_mixer/build
$ sudo cmake --install SDL_mixer/build
$ sudo ldconfig
On an older Ubuntu, or any distribution without SDL3 packages, the same recipe builds the rest of the family. Build SDL itself first, then SDL_image, SDL_ttf and SDL_mixer, cloning https://github.com/libsdl-org/SDL and so on at their latest release tags. Before building SDL, install your desktop's development headers (libx11-dev, libxext-dev, libwayland-dev, libxkbcommon-dev, libegl-dev on Ubuntu) so it builds with video support, and give SDL_image and SDL_ttf libpng-dev, libjpeg-dev, libfreetype-dev and libharfbuzz-dev so they can do their jobs.
On Windows, every library ships prebuilt. Download the -devel-...-mingw.zip file from the releases page of each of SDL, SDL_image, SDL_ttf and SDL_mixer, and merge the x86_64-w64-mingw32 folder from each zip into one place, say C:\sdl3, so it has bin, include and lib folders. Then set the environment variable NIM2D_SDL_PREFIX to C:/sdl3 and add C:\sdl3\bin to your PATH so the DLLs are found when your game runs.
The same environment variable works everywhere. If your libraries live somewhere unusual, point NIM2D_SDL_PREFIX at the prefix that holds their include and lib directories.
There is one optional extra. The physics module builds on Box2D and is imported separately with import nim2d/physics, so you only need Box2D if you use it: brew install box2d on macOS, sudo pacman -S box2d on Arch, built from source elsewhere. The physics page has the details.
Installing nim2d
The quickest way to see something running is to clone the repository and start an example. Inside the clone everything is already wired up, so this is also the easiest way to check your SDL3 install:
If a window opens and you are playing snake, everything is in place.
For your own project, install nim2d through nimble:
In a nimble project the same thing is a requires "nim2d" line in your .nimble file. To run the development version instead, install straight from the repository with nimble install https://github.com/nim2d/nim2d@#head.
One small file is still needed. nim2d links the SDL3 libraries into your game at build time, and your project has to tell the compiler where they are, so put this config.nims next to your program. The default prefixes match the install steps above, and NIM2D_SDL_PREFIX overrides them, the same as everywhere else:
# config.nims
proc linkSdl(prefix: string) =
  switch("dynlibOverride", "SDL3")
  switch("dynlibOverride", "SDL3_image")
  switch("dynlibOverride", "SDL3_ttf")
  switch("dynlibOverride", "SDL3_mixer")
  switch("passC", "-I" & prefix & "/include")
  switch("passL", "-L" & prefix & "/lib")
  switch("passL", "-lSDL3")
  switch("passL", "-lSDL3_image")
  switch("passL", "-lSDL3_ttf")
  switch("passL", "-lSDL3_mixer")

when defined(macosx):
  linkSdl(getEnv("NIM2D_SDL_PREFIX", "/opt/homebrew"))
elif defined(windows):
  linkSdl(getEnv("NIM2D_SDL_PREFIX", "C:/sdl3"))
else:
  linkSdl(getEnv("NIM2D_SDL_PREFIX", "/usr/local"))
With that in place, import nim2d works in any program in that directory. The repository's own config.nims is the same thing with a few repo-specific extras, if you want to compare.
The first program
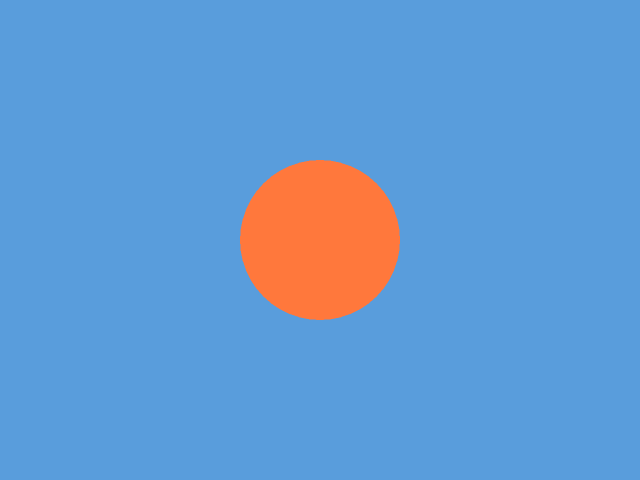
Here is the smallest program that draws something. Put it in hello.nim:
Example
The arguments to newNim2d are the title, the window position on the desktop, and the window size. Run it with nim c -r hello.nim. A window opens and stays up until you close it.
Every nim2d program has this shape. You make a window with newNim2d, you assign callbacks for the parts you care about, and play runs the loop until the window closes or you set nim2d.running to false. The callbacks you will use most are load, which runs once at the start, update, which runs every frame with the time since the last frame, and draw, which runs every frame and is where all your drawing goes.
Making it move
A still circle is a start, but games move. update hands you dt, the seconds since the last frame, and whatever you accumulate from it can drive the drawing:
import std/math
import nim2d

let n2d = newNim2d("loop", 100, 100, 640, 480, (20'u8, 22'u8, 30'u8, 255'u8)) # (1)!
var t = 0.0

n2d.load = proc(nim2d: Nim2d) = # (2)!
  echo "starting"

n2d.update = proc(nim2d: Nim2d, dt: float) =
  t += dt # (3)!

n2d.draw = proc(nim2d: Nim2d) =
  nim2d.setColor(120, 200, 255)
  nim2d.circle(320, 240, 80 + 24 * sin(t * 3), true) # (4)!

n2d.play() # (5)!
- The sixth argument is the background color, four bytes for red, green, blue and alpha.
- Runs once before the first frame, a place for setup.
- Adds the seconds since the last frame to t, so t tracks the time elapsed.
- The radius rises and falls as sin moves, so the circle breathes.
- Starts the loop and runs it until the window closes.
Run it and the circle breathes. The sixth argument to newNim2d is the background color as four bytes for red, green, blue and alpha; the window clears to it at the start of every frame, so draw always starts from a clean slate.
How coordinates work
Coordinates are in pixels with the origin at the top left and y pointing down. Positions and sizes are plain float, so you can pass numbers and the results of math without sprinkling type conversions everywhere. Colors are bytes from 0 to 255. Angles, where they show up, are in radians.
From here, the drawing page walks through everything you can put on the screen, and the input page covers reading the keyboard, mouse and gamepads. Or just open the examples and start changing numbers.
See also
The runnable all example, and the nim2d API reference.